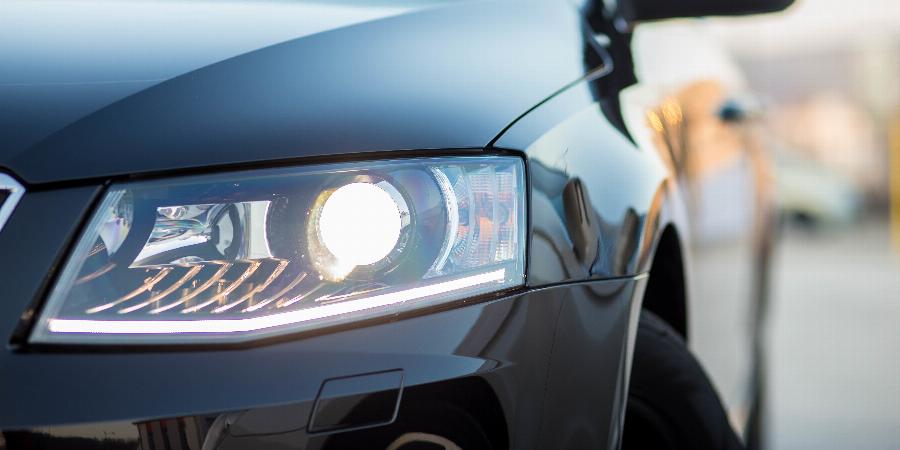
If you live in the northern hemisphere, fall equinox has passed. This means your days are getting shorter and, very soon, your evening commute will be in the dark. Your headlights are about to get a workout and need to be at their best. If your vehicle is more than a few years old, the film of UV protection on your headlights may be gone leaving you with cloudy lenses that are unsightly at best and vision limiting at worst. The good news is that headlight restoration is a quick, low-cost project that will help you get the best visibility after dark.
What About Oxidation?
Your headlights are protected by strong polycarbonate lenses but, like all plastics, polycarbonate is susceptible to the chemical reaction of oxidation. This is a fancy term that means oxygen is combining, in a chemical reaction, with elements from the plastic. The result is that your headlights look unattractive with yellowing, cloudy or chalky exteriors. Even worse, that cloudiness creates refraction of light waves inside the headlight assembly, preventing light from efficiently passing through the lens. This makes it difficult for you to see well when driving your vehicle at night.
What it Will Cost
A pro may charge you up to $120 for headlight restoration, but you can do it yourself for much less than that. The large number of kits available on the car parts market make it even more economical to do it yourself because there are many choices and the supplies you need come in just the right portions. This prevents you from having to buy large amounts of the individual supplies, saving you money and reducing waste. Kits range in cost from $8 to $25.
What You Need
Each headlight restoration kit varies just a bit, but they all come with a polishing compound, sanding kit, and a wax or sealant. When looking for a kit, decide whether you want to buy one with supplies for doing the project by hand or by electric drill. In addition to a kit, you need the following:
- Protective eyewear
- Gloves
- Masking tape
- Clean cotton cloths
- Car washing supplies
- Electric drill (optional)
You may have heard of people using common household products for this job, but you should stick with these professional chemicals to ensure you don’t damage your lenses.
What You Do
Wax on. Wax off. Well, not exactly, but it’s nearly as simple as that. Each headlight restoration kit will have specific instructions, varying a bit as to the order of the process. Be sure to wipe the surface between each stage. Essentially, you have 4 basic steps:
- Wash. Wash with headlights with soap and water. You don’t want to start polishing with dirt and grime on the surface.
- Sand. Use your safety gear to protect your eyes and skin. Be firm in this stage of restoration. Using very fine sanding pads provided, working from coarsest to finest. Keep the surface of your headlight wet and wet the sanding pads before each application. Make sure to use the manufacturer’s suggestions for sanding motions and be thorough. If using a drill for this stage, be very careful not to press too hard.
- Polish. Apply the polishing compound with a clean rag. This helps to work out the scratches. You may need to repeat cycles of application and removal.
- Seal. Use a protective wax or sealant to provide continued protection from oxygen and UV rays.
Conclusion
Make sure you can see the neighborhood kids and pets while they play outside this winter. This restoration project is fast, inexpensive and simple to complete. It’s the perfect detail to make your vehicle look sharp while also maximizing your visibility at night.