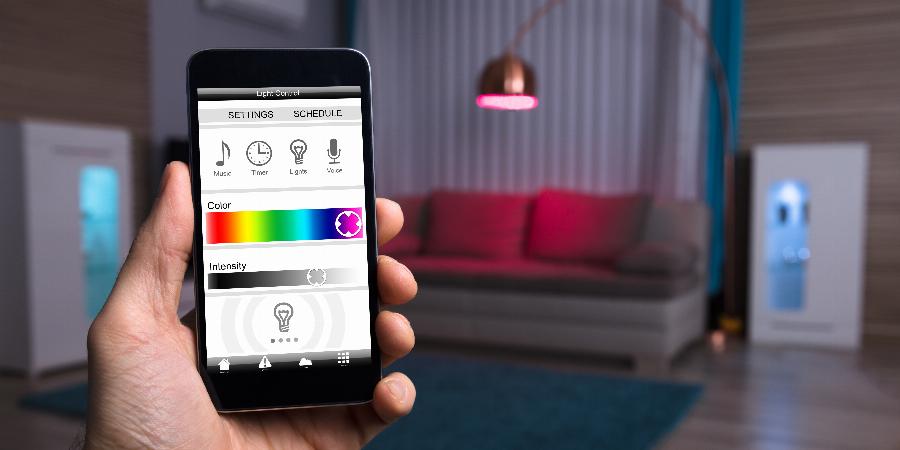
One of the most exciting and easy to understand features of a smart home is smart lights. For years, people have had to deal with wasting energy by forgetting to leave lights on that they didn’t need to. Now, installing smart lights is easy and can help a person ensure they are turning their lights out when they aren’t home.
In addition to being good for energy, smart lights look great and provide high efficiency light. They are programmable and can quickly be altered so that almost any color of light you want is shown off. Smart lights are a great first step to transforming your home into something that really takes advantage of smart technology.
The Steps to Installing Smart Lights
- Choose a Smart Light System
- Purchase Your Smart Bulbs
- Place the Smart Bulbs In the Sockets You Want
- Connect Your Smart Lights To Your Devices
- Configure Your Smart Lights and Enjoy
The Steps Explained
The first step is setting up your smart lights is to choose a brand. More and more smart lights are being manufactured each year as companies realize how useful they can be. There are several very popular manufacturers including Philips Hue lights (possibly the biggest brand right now), Ikea Tradfri, Sengled Elements and Lifx bulbs. Not every smart lighting system is easily tapped into. Since these use low electricity connectivity, they don’t specifically tap into wifi. This means that a smart home hub may be necessary to connect easily to your smart lights.
When it’s time to purchase your bulbs, you should consider your needs. Whichever brand you choose will likely have different types of bulbs. Typically the big decision will be between standard light bulbs or bulbs with the ability to change color. Many people enjoy color changing lights to see a great mood or atmosphere in their home.
Placing your bulbs may be easy, but it’s important to consider groupings. Most smart lighting settings will allow people to verbally customize their light groupings into settings like “kitchen, living room, bedroom, etc”. You want to make sure your groupings are easily together.
The next step is connecting to your devices. Some like the Phillips Hue will manage to connect directly to Google Home or other smart assistants. As mentioned earlier, if they do not, you’ll need to use a hub. The lights will connect to the hub, as will your phone, smart assistant, tablet or computer. From there, you can program and alter your light settings.
The final step before getting to enjoy your lights is the configuration step. This part depends on which system you’re running your smart lights through. If you’re using Alexa, Google home or another type of smart assistant, you want to make sure to familiarize yourself with the voice commands for your system. Each has slightly different commands. The good news is that there are numerous guides to help you configure and tinker with your smart lights. Some will come from the manufacturer, but there’s always YouTube available as well. Configuration will require that the smart lights be sectioned off into groupings. You don’t want to turn on your bathroom lights when you are in the kitchen. When voice configuration is needed, make sure there are enough speakers around to be used wherever they are needed. If it is just one speaker in one room, your ability to use voice commands everywhere will be seriously curtailed.